


Build Details
-
The Goal & Materials
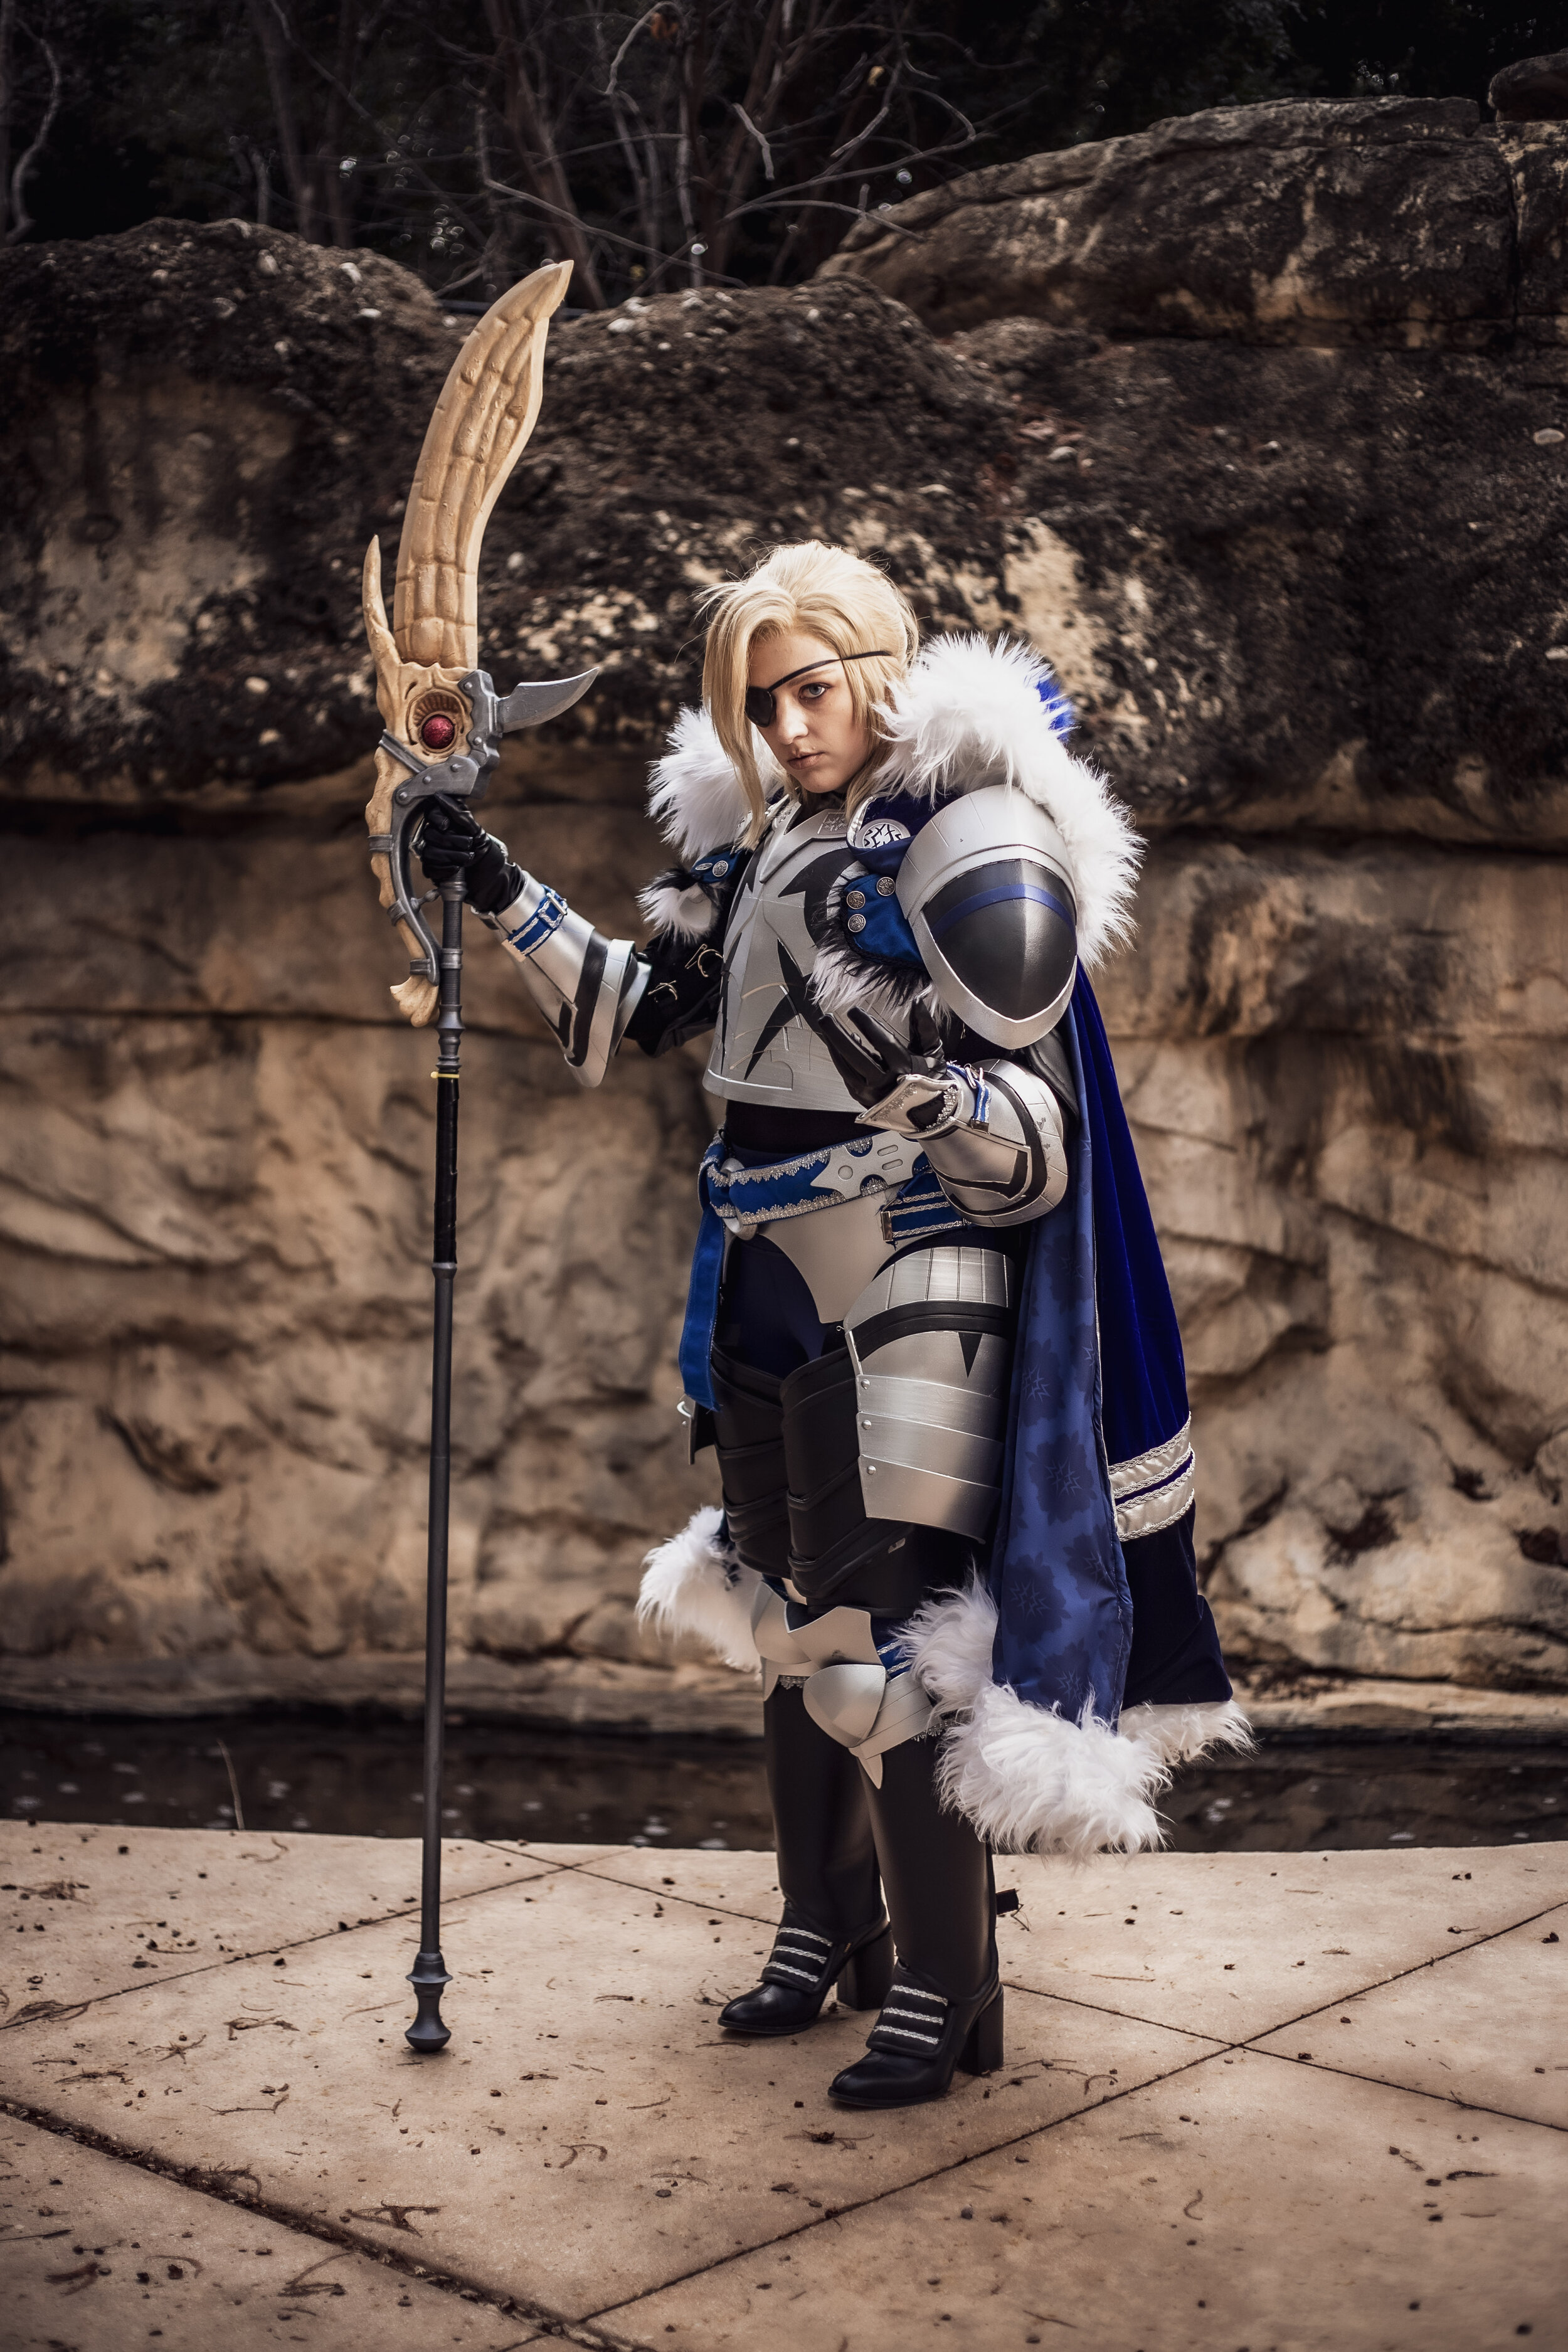
The goal of Dimitri was to tackle my first ever head to toe armor project, with all that it included from logistics to scaling. I wanted to bring the design to life, but with a “richer” and more detailed, royal feel to reflect the character’s new title of king with this design. This was some of the motivation behind added details and fabric choices.
The costume utilizes white and blue faux fur, polyester velvet, over 8-9 yards of metallic braid trim on the back alone, as well as black pleather for all under armor. The armor itself is 3D printed, with paracord, elastic, and foam pieces serving as logistical support. All visible blue strapping utilizes metal buckles and grommets well as faux suede.
-
The Armor
All 3D models were provided by Dangerous Ladies. Everything was extensively sanded and primed with XTC3D and bases of spraypaint before being airbrushed, especially for details. I consulted LARP and historical armor diagrams to research the logistics of this project, which ended in an X shaped/style back harness system, as well as a split waist/hip area in order to sit and twist in the costume. The pauldrons were elevated, World of Warcraft style, with foam blocks to nail the “larger than life” silhouette.
-
The Cloak
The cloak uses a modified commercial pattern, which involved splitting it into two colors and re-splicing the velvet together. The back applique was hand-designed and interfaced, then over 8 yards of silver braid was stitched onto the cloak. The edges are finished with a stretch pleather bias tape, and a custom liner was designed by Dangerous Ladies before I sewed it on to have a polished inside of the cloak.
-
The Details
This costume also has an entire set of black “underarmor”, which used a paper mockup based on foam armor patterns. They were heavily altered, then pleather was cut and sewn around Pelion’s flex-foam, a good alternative for “sewable” armor interiors. All straps have fully functioning, grommet holes with buckles, and are top stitched and trimmed with a similar metallic to coordinate with the cloak.
-
The Lance
The lance uses a 3D printed kit that was provided for free as it was “defective”, so it required much heavier finishing and preparing. It was assembled with a steel dowel for stability but can be taken apart. All finishing was done with spraypaint. The “bone” head of the lance was achieved with an artistic gel texture in layers, then prepped with acrylics and an acrylic wash to finish.
-
"First Times" & Build Guide
This was my first time tackling a “full” suit of armor with all logistical challenges it included; it was also my first time using trim, bias tape, or even making a cloak, as well as using an airbrush or working with flex foam.
A “build log” of this costume was shared here as a community resource.